- Start working with Safe Management by preparing a store: search for Store List, and create or select a store.
- Existing store
- Calculate and post statements for all POSes or Staff for the store depending on how the statements are for the store.
- Make sure that no entries exist for POSes or Staff in the POS Start Status and POS Start Entry tables.
- New store
- Create a new store and POS terminals.
- Existing store
-
Search for Store Safe Listto create a store safe, and link the safe to the store by selecting that store from the Store No. drop-down list.

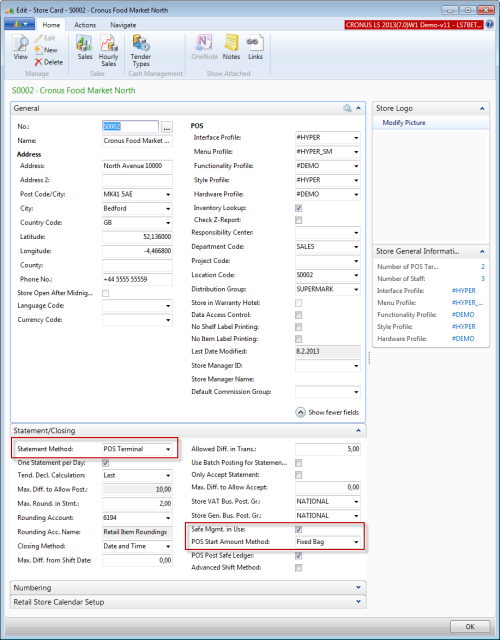
- On the Store Card search for Store List and select a store.
- On the Statement/Closing FastTab:
- Select the Safe Mgmt. in Use check box.
Set the POS Start Amount Method field to Fixed Bag.
Set the Statement Method field to POS Terminal.
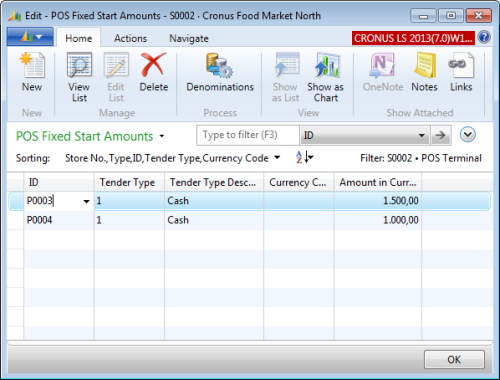
- Enter POS Fixed Start Amounts:
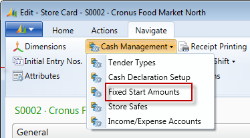
From the Navigate action menu, go to the Cash Management field, and select Fixed Start Amounts from the drop-down menu.
Enter Fixed Start Amount for each POS and denominations, if needed.
- Set the POS Post Safe Ledger. Do not select this check box if the POSes are working in their own database and sending the sales transactions to a central database, either in the store or at the Head Office.
- Configure Tender Types:
- From the Navigate action menu, go to the Cash Management field, and select Tender Types from the drop-down menu. For each tender type (normally only Cash) do the following:
- On the General FastTab, select the May Be Used check box.
On the Declaration FastTab, select all check boxes except To Safe by Denom..
Note: Do not select Count By Denomination on the Posting FastTab.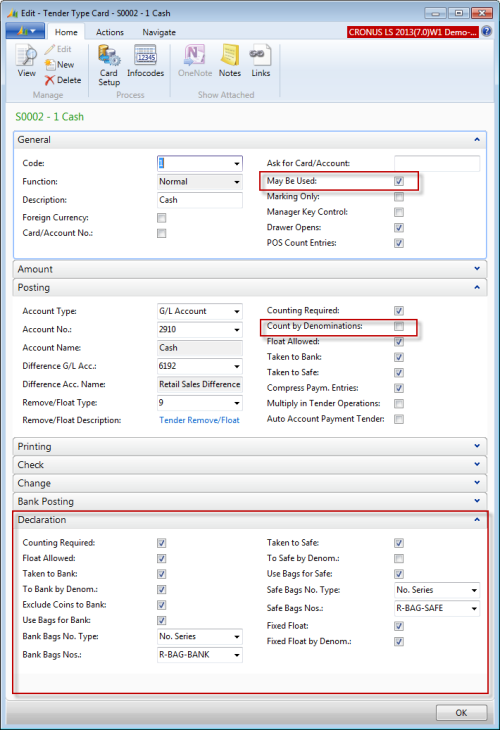
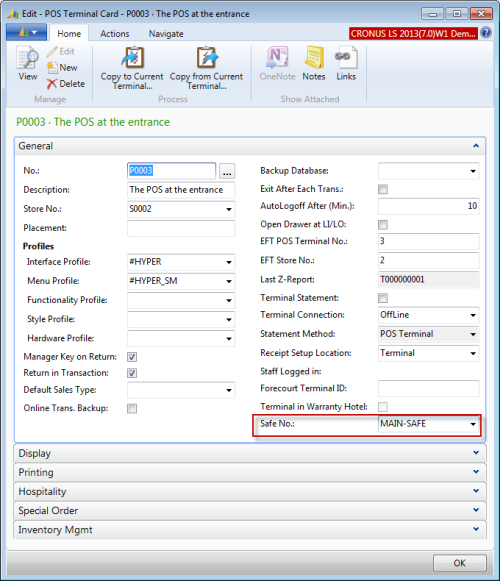
- Link POS Terminals to the Store Safe:
On the POS Terminal Card select Safe No. and select a POS.
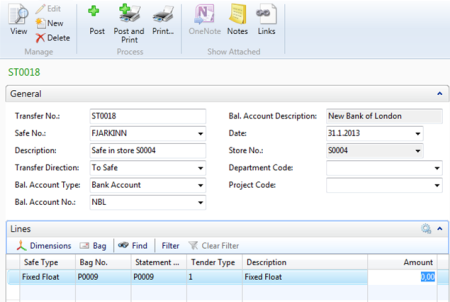
- Create Start Float for POS Terminal:
- Search for Safe Transfer List, and click New.
- Leave the Transfer No. field empty (automatically filled from a Number Series).
- Select the safe.
In the Transfer Direction field, select To Safe.

- Select Bank Account to retrieve money from the bank.
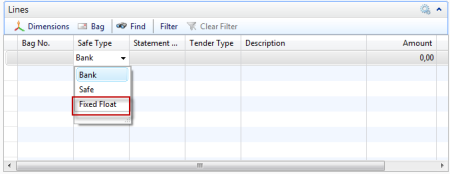
- Transaction Line:
In the Safe Type field, select Fixed Float.
- In the Statement Code field, select your POS Terminal Number.
- Select a tender type for cash.
Enter a description in the Description field.
On the Lines FastTab, click Bag.

The bag's content is displayed.

- Click the Only Total action (or By Denomination and enter coins and notes by denomination).
- Enter Total Amount (for example 1500 Euros), and click OK.
- Post the transfer.
- Link Retail Users to the POS Terminals:
- Search for Retail Users, and click the Edit List action on the Home menu.
- Enter POS Terminal numbers for users (and the Store number, if missing).